For quite some time I take my flying turns in the flight simulator „Aerofly FS2“. But only recently I found out about instrument navigation integrated into AFS2. Believe it or not: If you master instrument navigation in Aerofly FS2 it's not only possible to get to your destination airport in bad weather or at night – planning and execution of an instrumental flight makes also a whole lot of fun.
VOR, what is it good for?
Decades before satellite navigation via GPS or GLONASS was available for civilian use, planes had to use different means of navigation. In the early ages of flying for example there was an US system consisting of light houses and large concrete arrows for planes to use. Given that these markers required the pilot to actually see these navigation aids made for limited usefulness – at night or in bad weather their useful range was rather low. A different solution had to be found.
Major breakthroughs in radio technology at the beginning of the 20th century led to the development of radio beacons. Like a light house emitting light, the radio beacon would emit radio waves, allowing a receiver to identify the direction the beacon was broadcasting from – but with far more range than light and (theoretically) unhindered by darkness and bad weather. Another positive side effect: Beacons could transmit an identification Morse code, so the receiver would know that she was tuned to the right beacon.
Determining the bearing to a beacon was comparatively easy. But knowing the bearings to two beacons (or bearing and distance to one beacon) one could pinpoint her location by using simple geometry. Given the location of the beacons was known, it was easy to determine your own absolute position.
Further development in this area led to VOR navigation and ILS landings. And even though nowadays GPS / GLONASS is available world wide and (mostly) reliable, navigation by VORs and ILS has still its merits – and its own charm.
Applied to flight(simulators)
Since Microprose's „Solo Flight“ instrumental flight is a part of every major flight simulation. To use these principles properly one first has to understand and practice them.
Doofer911s FSX video tutorials explain the basic principles as well as how the navigation instruments in a plane work. Doofer911 made these tutorials for a Cessna 172 in Microsoft's Flight Simulator X – but these principles hold true for all simulators and for all plane types equipped with a VOR receiver.
Most important for us: How to use a VOR receiver…
…and how to use ILS landing equipment and procedures:
If you are more into reading than watching: Charles Wood's navigation tutorials got you covered, and not only explains the basics of VOR flying, but also supplies some examples to try out for yourself.
How to build an IFR flight plan in Aerofly FS2?
In Aerofly FS2 there is everything included for planning and executing a simple IFR flight with VOR- and ILS-support. There are no additional maps or informations needed.
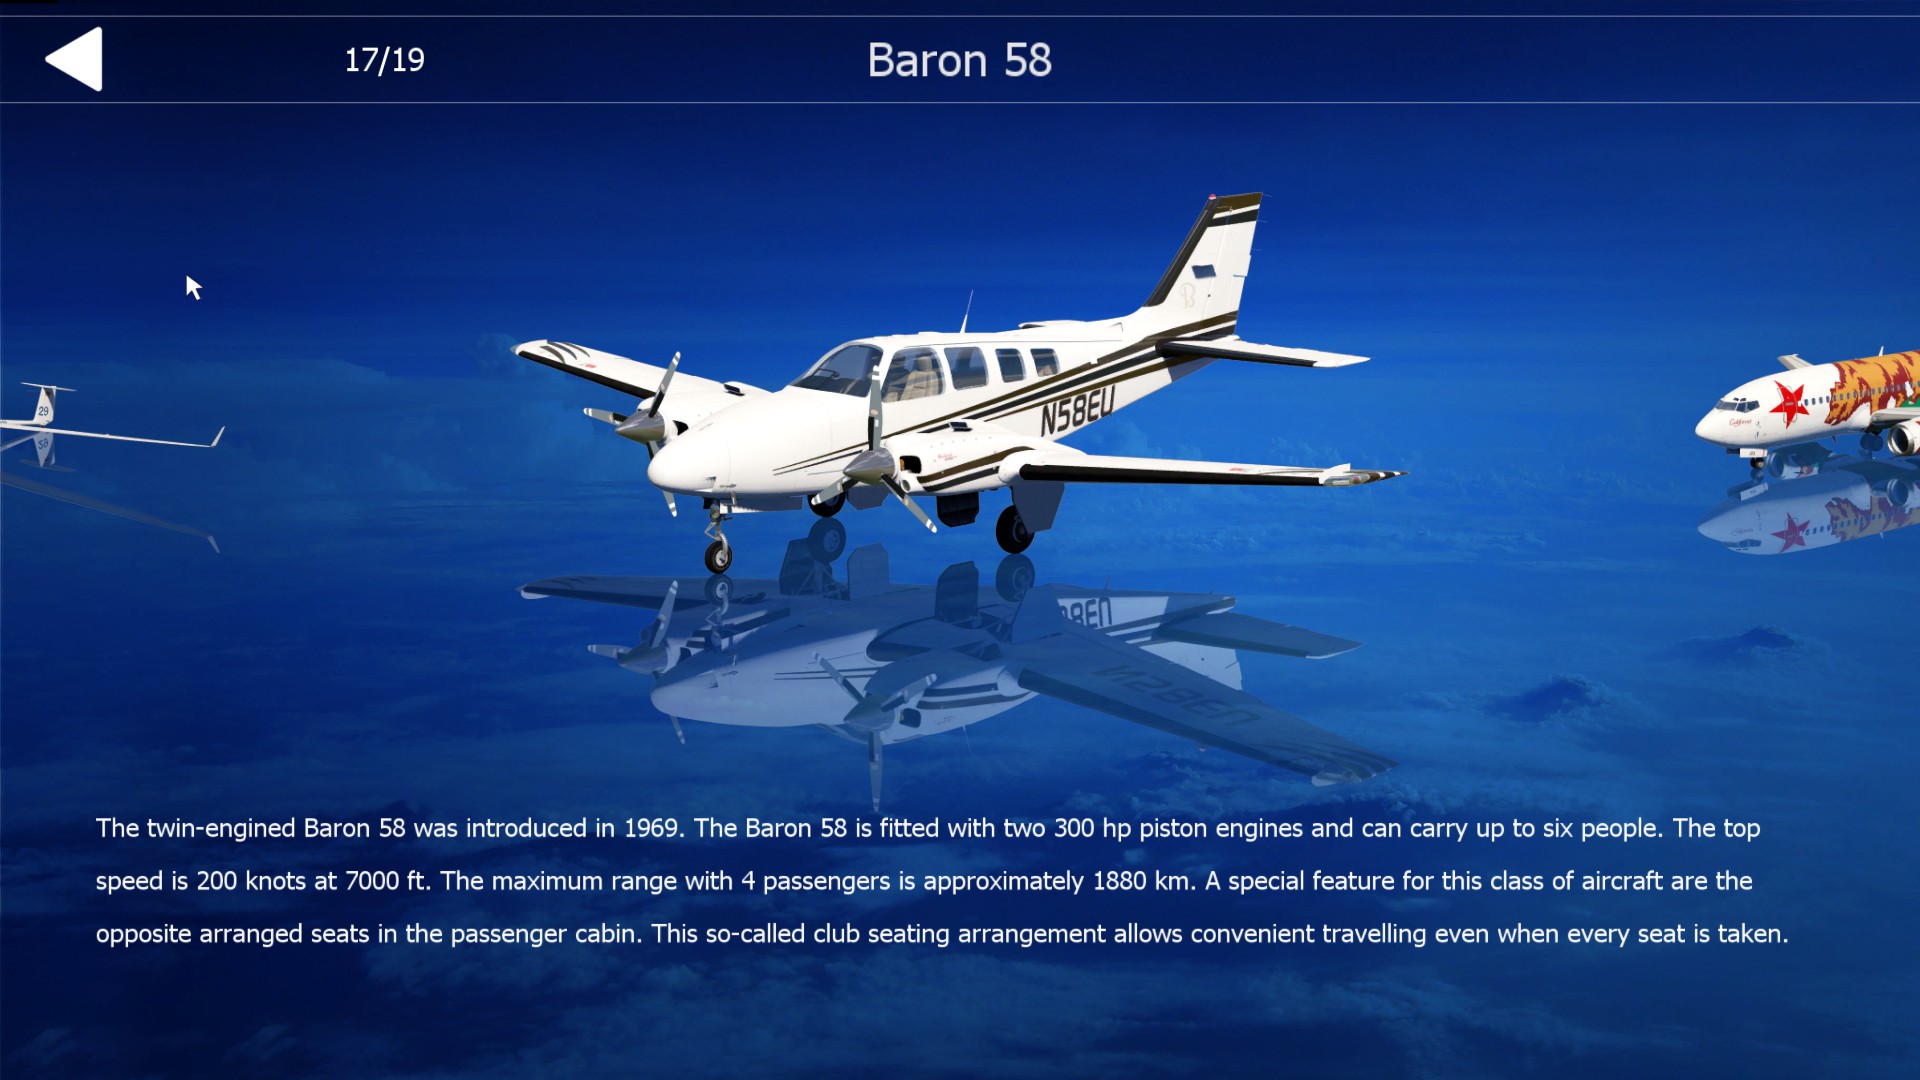
First things first: Choose a plane type suitable for VOR-IFR. This excludes all bi-planes, gliders or military jets. The easiest planes to get into VOR flying are the Cessna 172 or the Beechcraft Baron 58, because the instruments used are the most basic ones as seen in Doofer91's videos.
Continue with the navigation screen from the main menu. Choose an airport to take-off from, and one to land on. If you want to exercise ILS landings you will need to choose an runway with an ILS sender, as will be indicated next to the runway entry you clicked on.
Depending on your chosen route you may want to add an extra VOR waypoint by clicking on a VOR station. This makes navigation relative to a VOR sender somewhat less difficult.
Now take note of all frequencies of all VOR and ILS senders required for your flight plan. You may want to put them on a slip of paper – I for one build a small flight plan notebook called „VORman“ to keep track of my flight plan data. The frequencies of VOR, ILS or NDB senders show up once you click on the sender on the map.
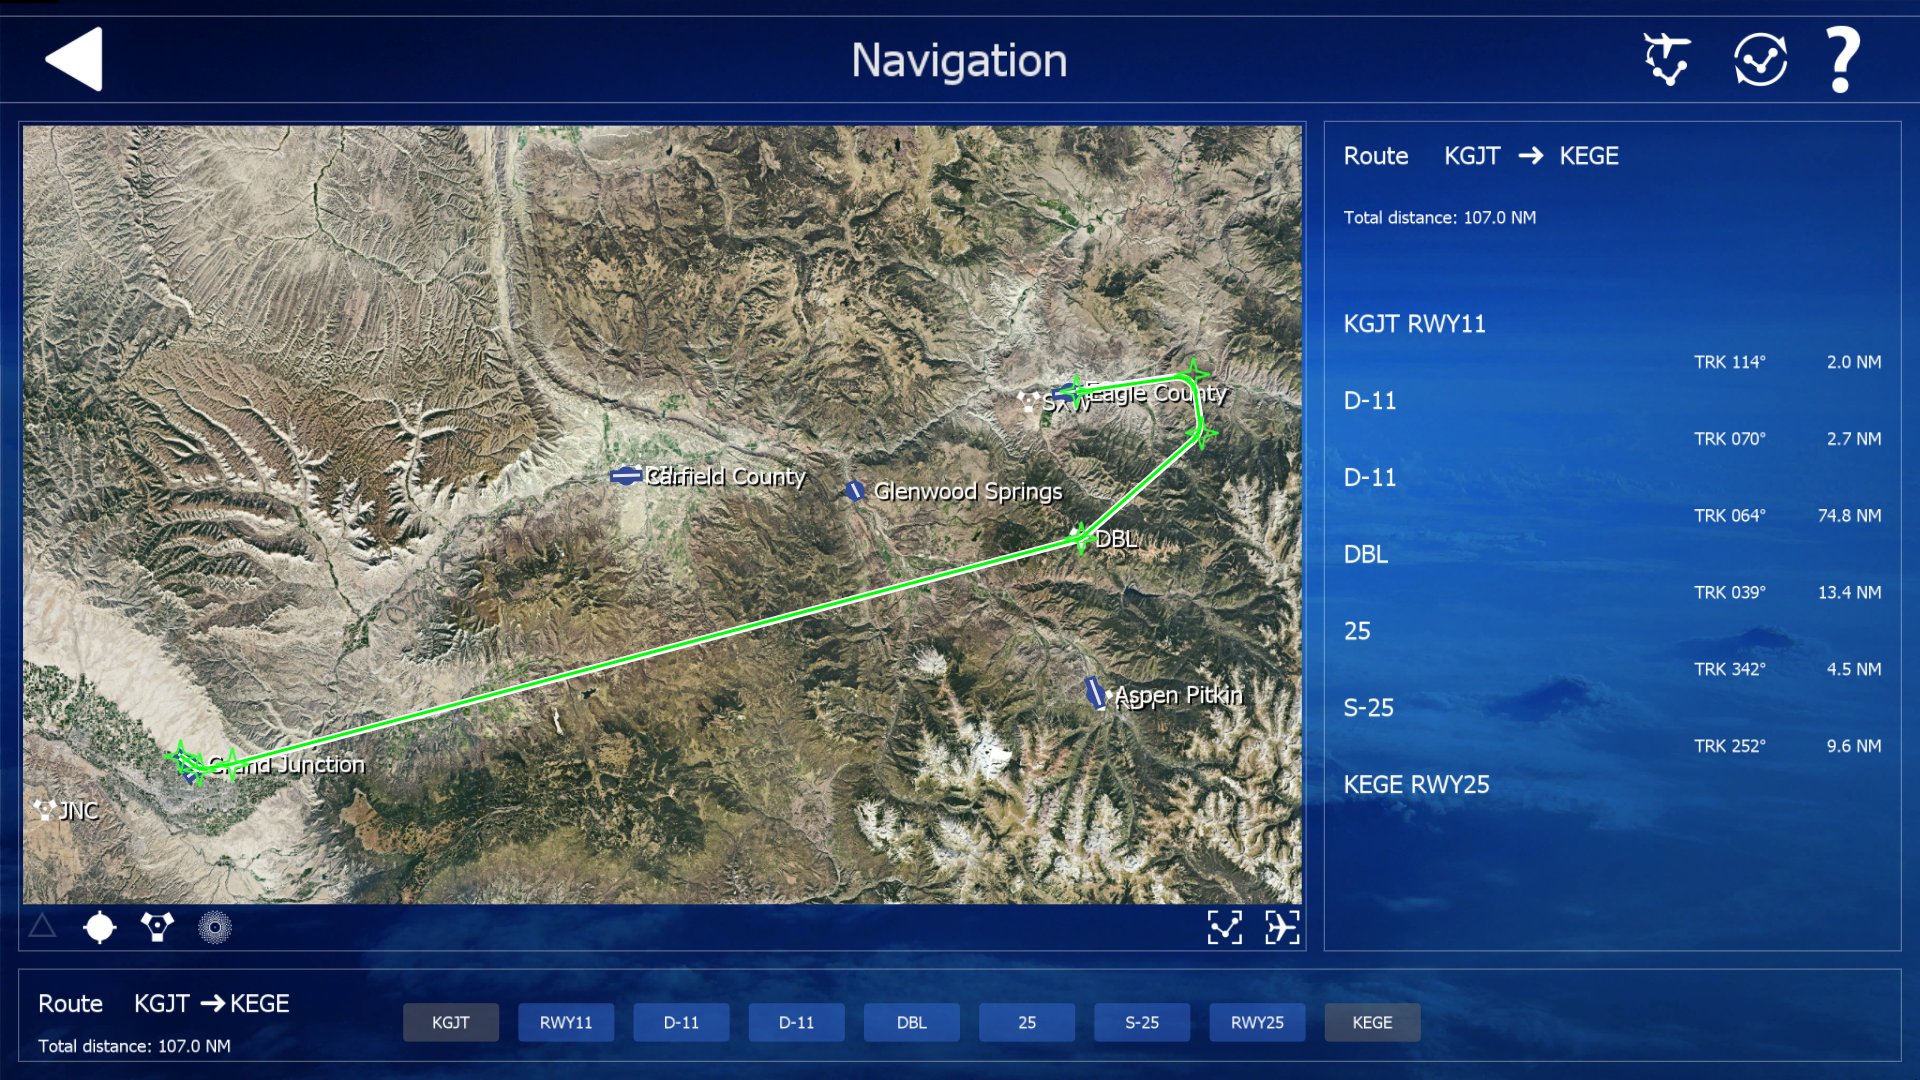
The most important part is to determine the bearings / radials to and from your selected VOR or NDB senders. There is a flight plan summary telling you about all directions and distances. This summary can be accessed by clicking on the word „route“ in the lower section of your screen. Clicking a single waypoint tells you about frequencies used there.
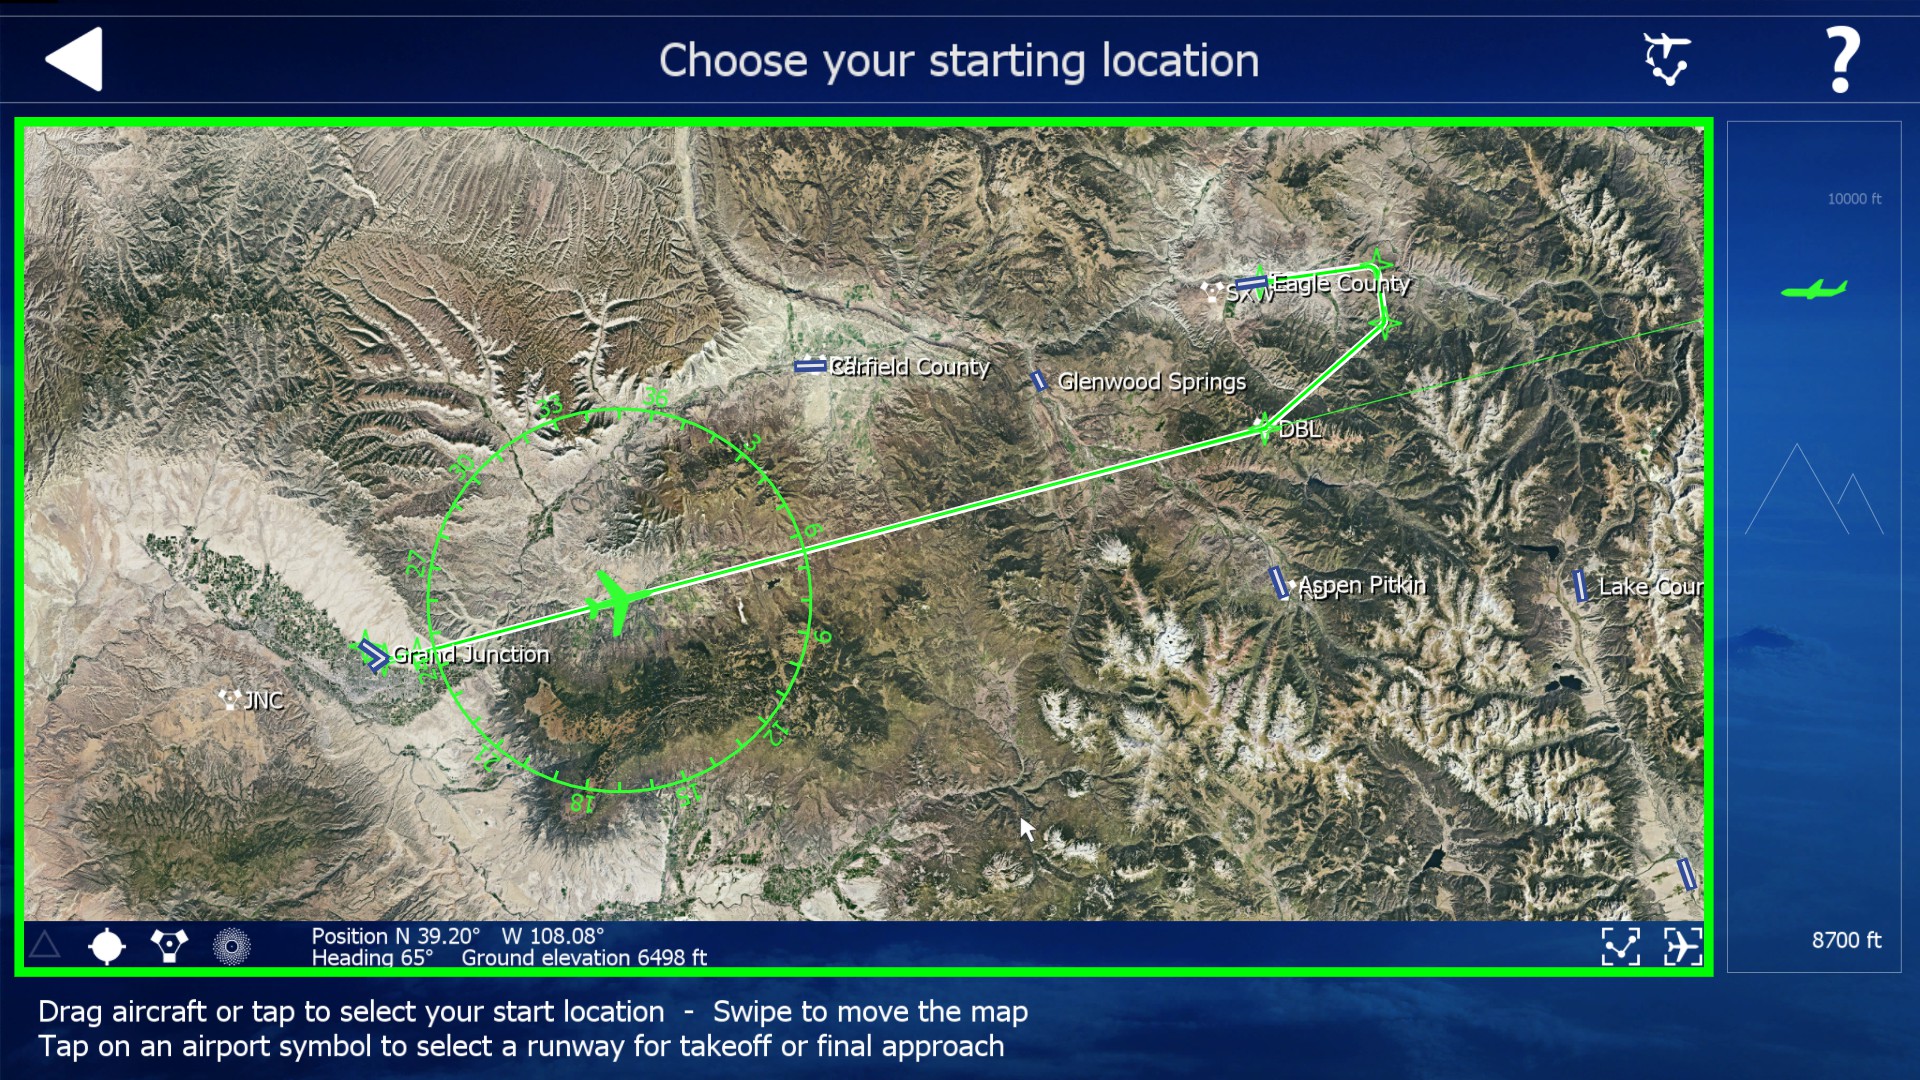
In case you need radials / bearings not deductible from your regular flight plan there is a small workaround in Aerofly FS2:
- Choose „Location“ from the main menu.
- Activate „VOR“ beneath the map to show the location of VORs.
- Now use your plane marker like a ruler. Drag the plane marker on top of the VOR / NDB you are interested in.
- Turn your plane until the green line is corresponding with your desired bearing / radial.
- Below the map you can see the direction you selected, which is the radial / bearing you were searching for.
- Repeat steps 3–5 until you have all radials / bearing you require.
You will also see the elevation of the terrain below your plane marker. Dragging your plane marker along your route, this helps in determining the minimal safe height you will need to fly to get from one waypoint to the next.
When you are done building your flight plan, put your plane back on your start airfield. By the way: It is rather smart to set your plane on a parking position on your start airfield, as this gives you proper time to put all navigation data into your plane's instruments without sitting on the runway blocking other planes. 😉
Now jump into your cockpit and enter all frequencies as well as radials / bearings into the navigation panels of your plane.
Now your instruments are set that even in fog and night your plane can safely reach its destination.
A quick example IFR flight plan
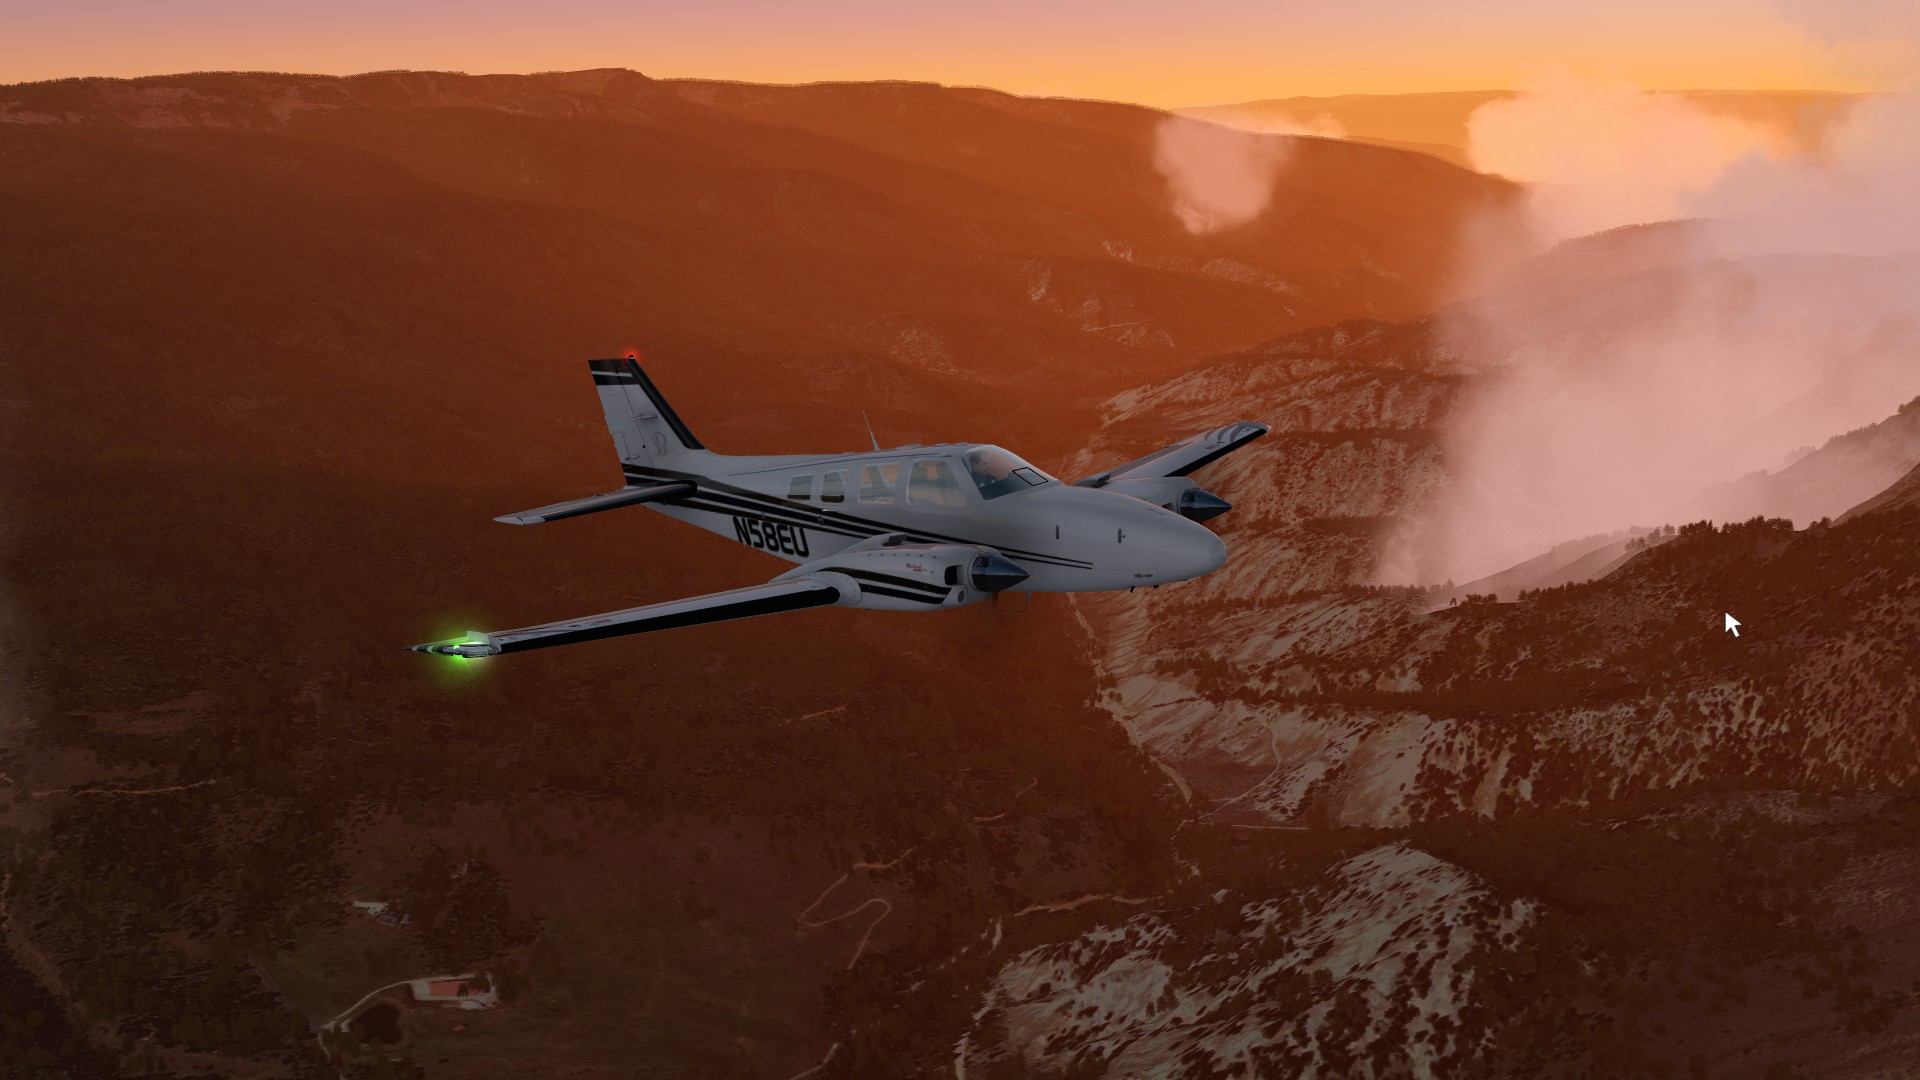
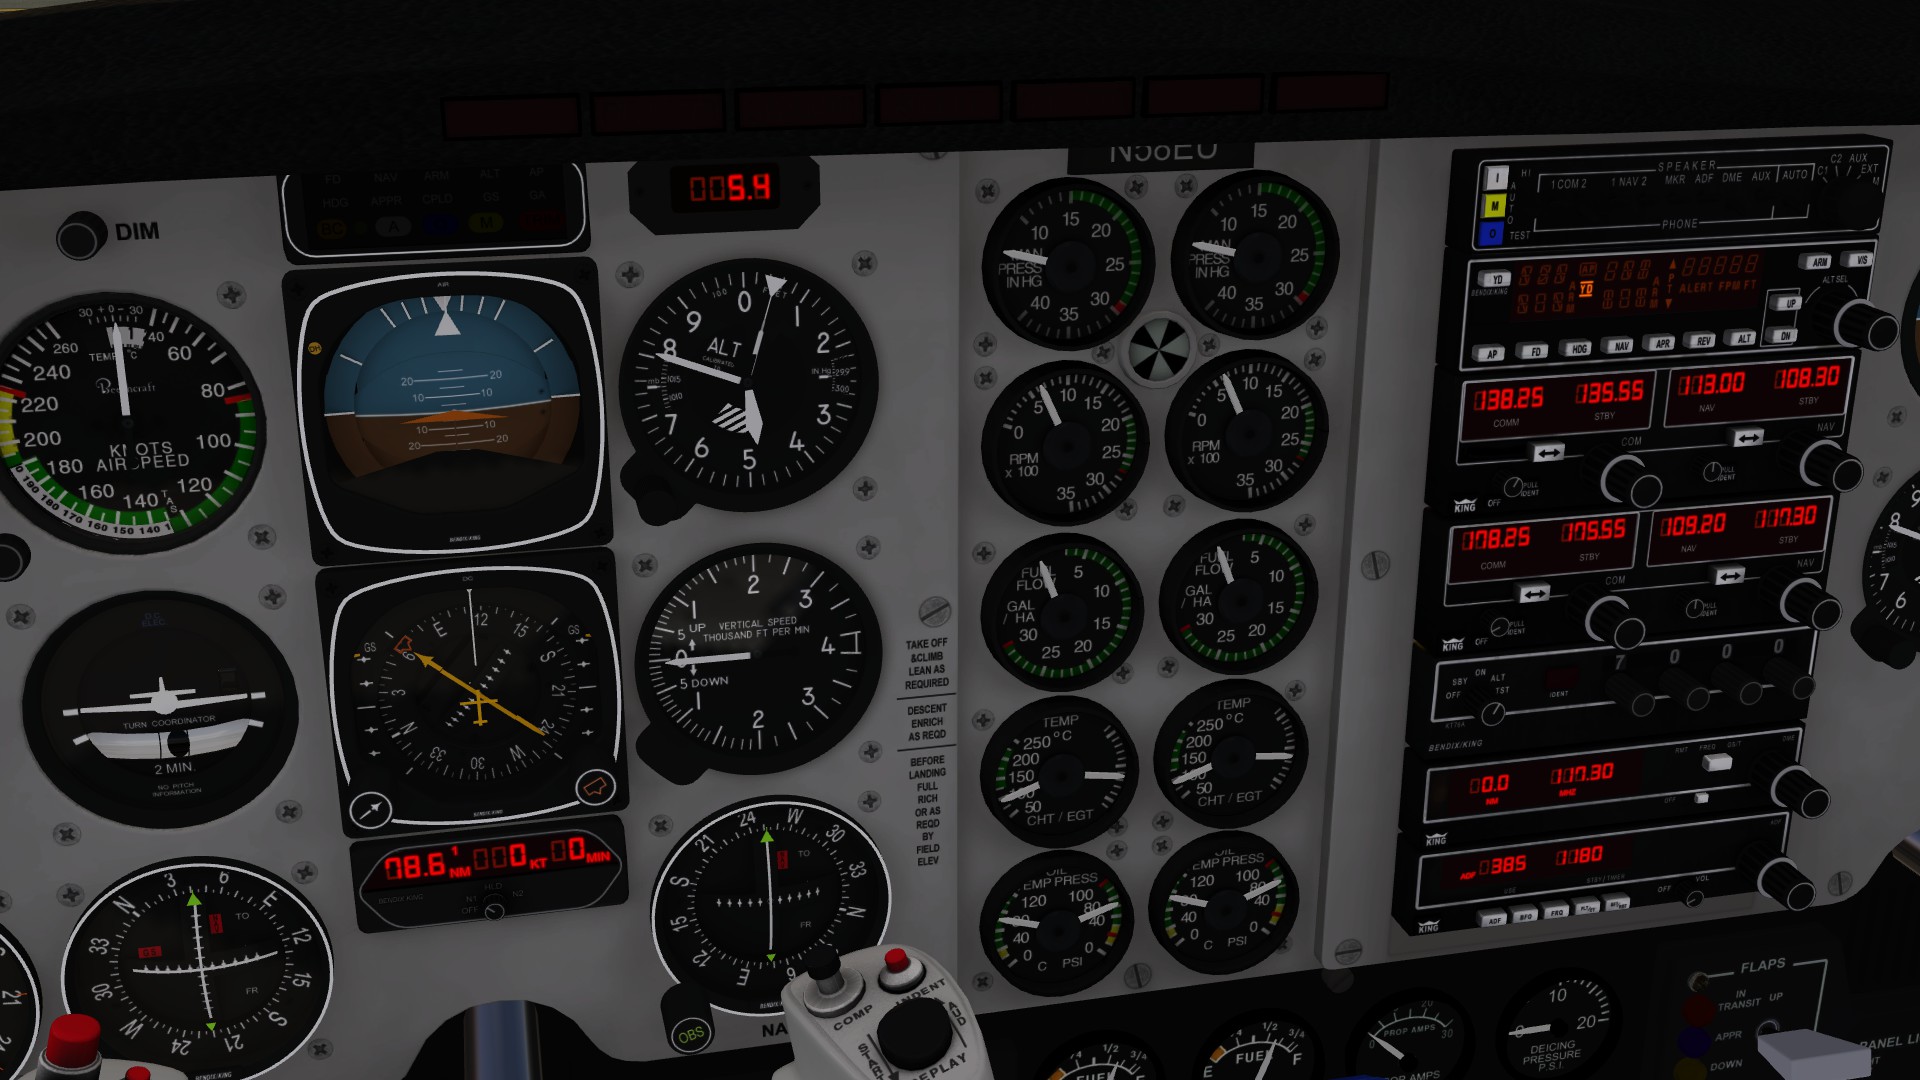
All pictures in this article show a Beechcraft Baron 58 on its way. To follow its flight plan from Grand Junction, Colorado (KGJT) to Eagle County, Colorado (KEGE) you will need the following settings:
- Switch your NAV1 to
113.0 MHz(your first VOR) and your standby frequency to108.3 MHz(the ILS of your destination airfield). - Switch your NAV2 to
109.2 MHz(the VOR of your destination airfield). - Turn the OBS of your HSIs (this being the „compass“ in the very centre of your cockpit) until the yellow arrow points at
64°.This is the bearing we are going to fly to the first VOR. - Turn the OBS of your NAV1 indicator (lower left corner of your cockpit) to
39°. This is the bearing we turn to after passing the first VOR. - Turn the OBS of your NAV2 indicator (lower right corner of your cockpit) to
252°. This is the bearing of the second VOR we need to intercept and turn into to get to our destination airfield. - The DME instrument with its glowing red numbers in the centre of your cockpit display remaining time and distance to NAV1 – in this case your first VOR.

After take-off you need to get onto the yellow line indicated in your HSI. Once you are on the line, you need to turn to 64° to keep on the line. After flying for 75 miles you will reach the first VOR.
After passing the first VOR you will need to turn the OBS knob of your HSI to 39° (or use the NAV1 indicator in the lower left corner, which you already prepared). Turn to 39° to keep on the radial, and fly on for another 14 miles.
Now you just have to wait to intercept NAV2, which will be indicated by the line in your NAV2 indicator reaching the middle position. With a quick turn to 252° you are right on track to Eagle county airport. Approaching the airport switch NAV1 to the ILS frequency (which you already put into your frequency panel as standby frequency). Now HSI and NAV1 indicator should show the ILS bearing and glideslope, leading (hopefully) to a proper landing.
Diesen Artikel gibt es auch auf Deutsch.